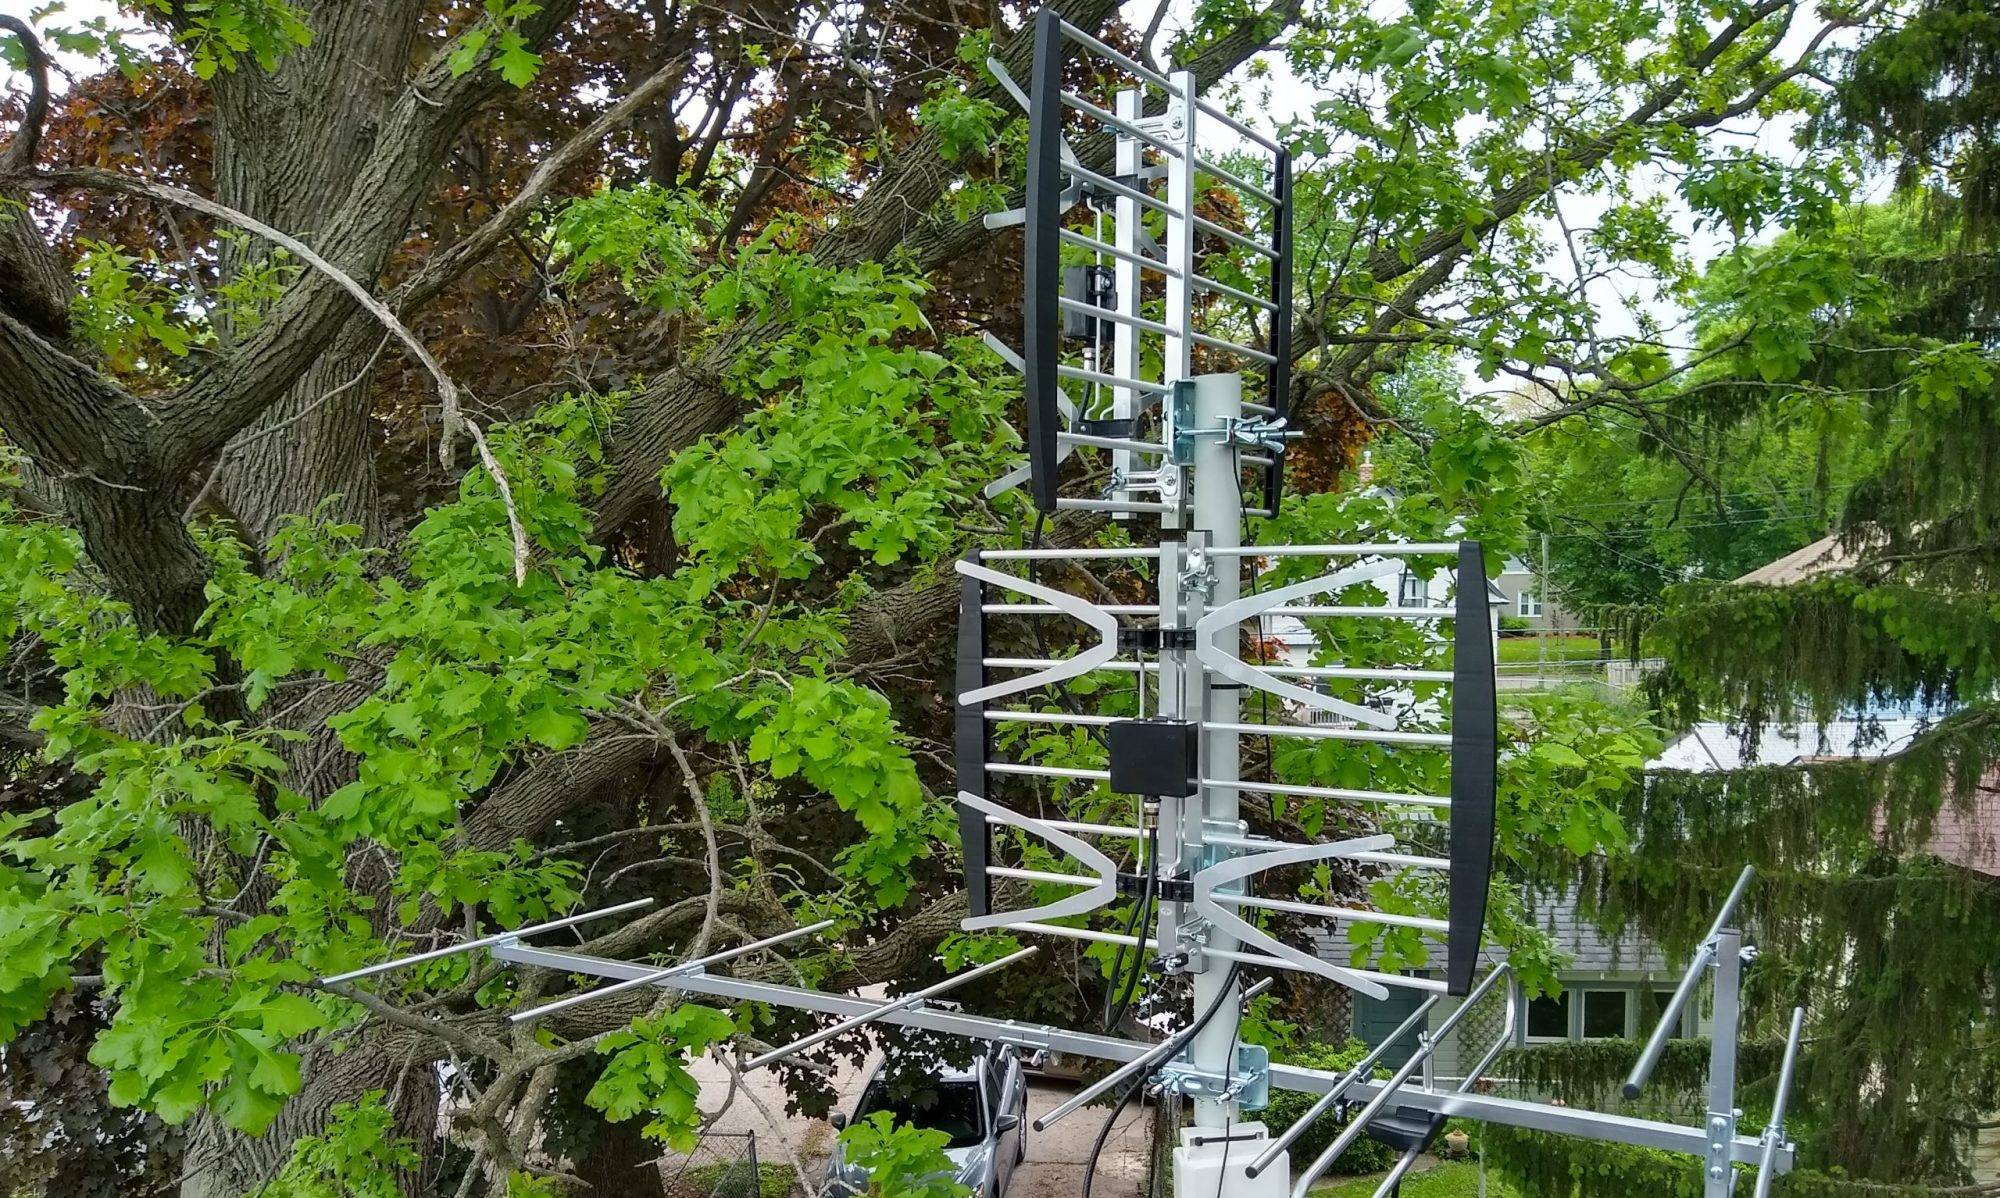

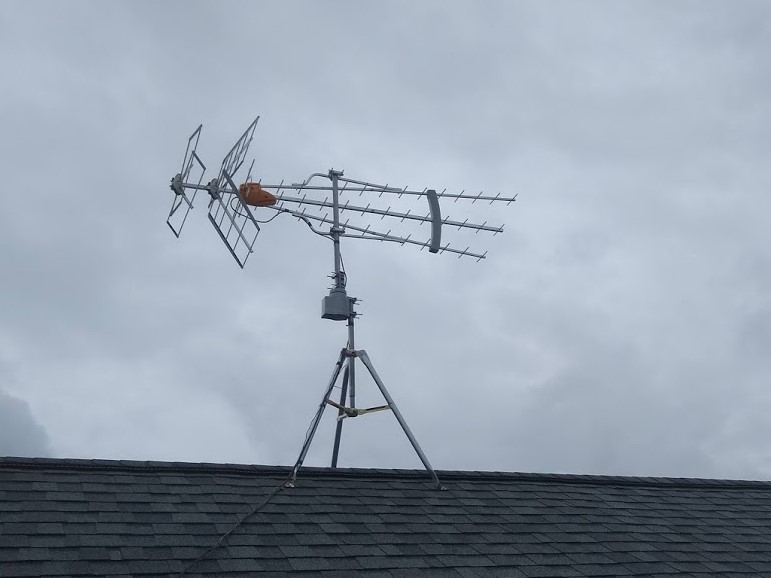
An antenna rotator system allows you to orient your antenna in different directions, enabling reception from different TV markets.
For best results, it is imperative that the antenna be aimed within 10-20 degrees of the station(s) you are attempting to receive. If the antenna is significantly mis-aimed, you may not receive all available stations from that market and/or some stations may suffer from signal dropouts. It may be useful to utilize the TV’s built-in signal meter in order to peak the signal strength on a particular channel (see our TV & Tuner Setup page to find the signal meter function on your TV).
After rotating the antenna, you will need to run a channel scan on your TV in order to receive the channel available in a particular direction. Alternatively, some TVs offer “channel add” or “partial scan” option which allows you to add channels without erasing previously memorized channels. Please see our TV & Tuner Setup page for more information.
(If you are unsure of what channels are available at your location or which direction the channels are located, contact us and we would be happy to send you a signal prediction report, channel list and compass headings for available channels, free of charge.)
Before using a rotator, ensure that it is set up and functioning properly:
-Is the rotator unit functional? Does it turn the antenna a full 360 degrees? If not, it may need re-lubrication or replacement.
-Does the antenna direction stay put, or does it turn in the wind? If so, the unit may need to be replaced.
-After synchronizing the rotor, does the antenna point in the right direction? (For example, set the controller to “N”. Does the short end of the antenna point North?) If not, what direction does it point? You will need to factor in the direction error when aiming the antenna (this is a common error in DIY installations), otherwise we can re-adjust the antenna for proper aim.
-Does the rotator turn the antenna in the same (or opposite) way as the controller? An improperly wired rotator will turn clockwise, while the controller is turning counter-clockwise and vise-versa. If this is the case, you will need to reverse wires 1 and 2 at the controller and then run a synchronization.
How to use a rotator controller:
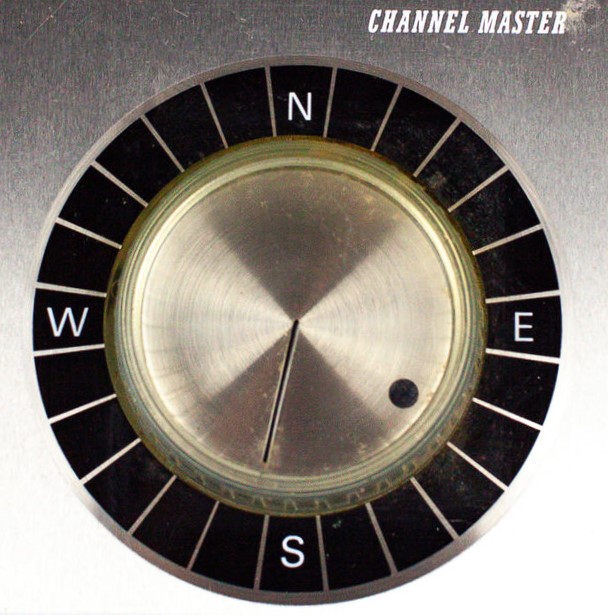
Analog (Channel Master, Archer/Radio Shack, Gemini, Phillips-Magnavox, etc.):
Changing direction: Push the knob down and turn to the desired direction. The dot below the dial shows the position of the antenna. Once the antenna is in the desired orientation, the unit will shut off.
Synchronization: Turn the controller all the way counter-clockwise (to North). Once the controller has shut off, turn it all the way clockwise, wait for it to shut off and then turn it all the way counter-clockwise again. Now, return the antenna to the desired direction. A synchronization should be run at least once every 50 rotations or so.
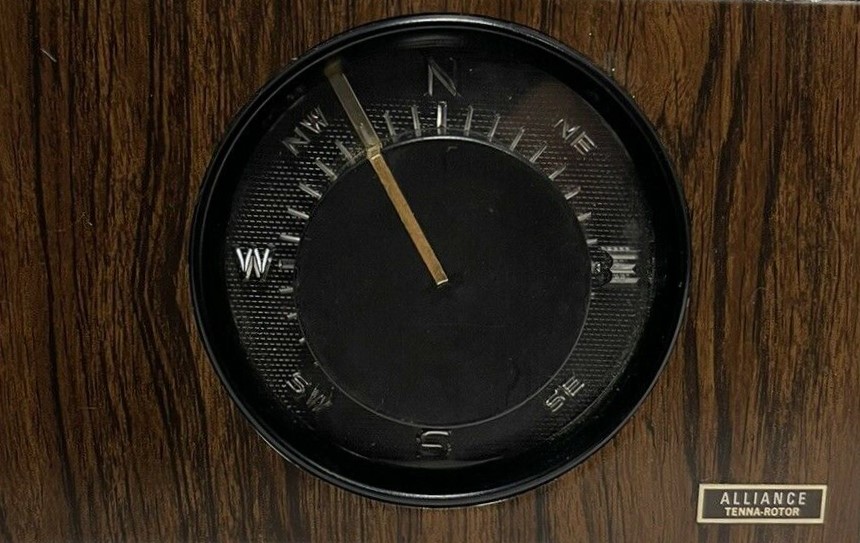
Analog (Alliance, Colormaster, etc.):
Changing direction: Turn the knob to the desired direction – each “click” on the knob represents a 10° step. The dash behind the dials shows the position of the antenna, updated in 10° increments. Once the antenna is in the desired orientation, the unit will shut off.
For more information, see: U-100 Manual
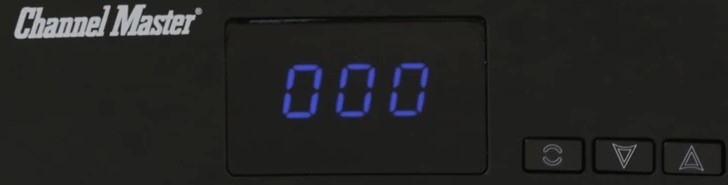 Digital (Channel Master):
Manual direction entry: The ▼/▲ buttons on either the control box or remote allow you to select any direction between 0° and 360°. Alternatively, you may use the remote to enter the heading directly via a 3-digit code (e.g. 90° as “090” and 180° as “180”). The display will show the current antenna heading as the antenna is turning. The display will shut off after a few minutes of inactivity
Channel preset entry: Enter the desired channel number as a 2-digit code on the remote (e.g. channel 4 as “04” and 47 as “47”).
After the direction is selected, the controller will read out the antenna’s current direction. The display will shut off after a few minutes of inactivity.
Synchronization: Press the synchronization button on the control box (9521HD) or enter “00▼” on the remote.
For more information, see: 9521HD Manual or 9521A Manual
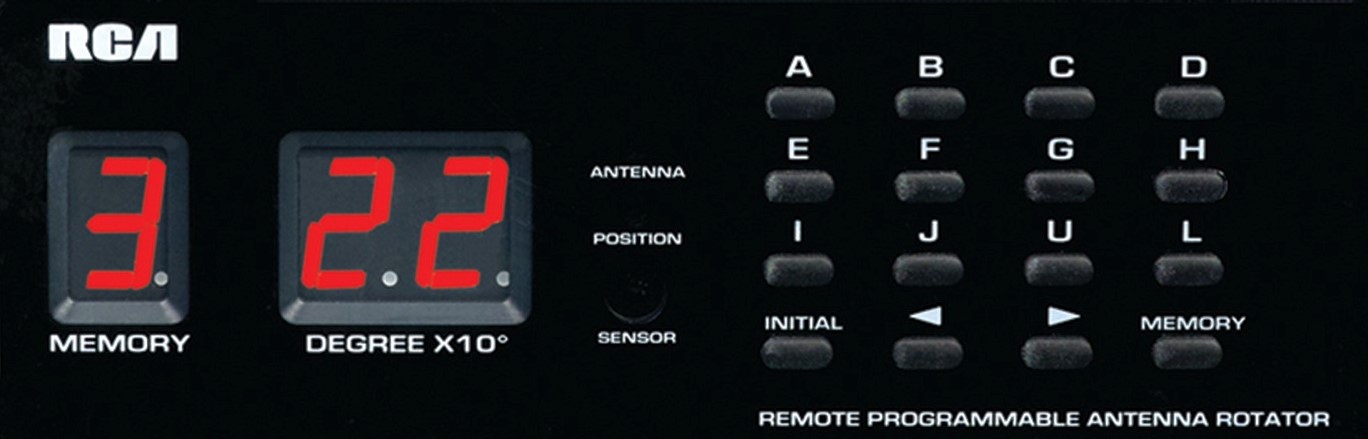
Digital (RCA):
Manual direction entry: The ◄/► buttons on either the control box or remote allow you to select any direction in 10° increments between 0° and 360° (shown as “0” to “36” on the control box display).
Channel preset entry: On the remote or control box, press the desired preset key (A-L).
Synchronization: On the remote or control box, press the “Initial” key.
For more information, see: VH126N Manual